How to Make a 12 Month Illustrated Calendar
Happy New Year! It’s January, somehow, and a time when we artists tend to overwhelm ourselves with all our hopes and dreams for what we want to make in the next 12 months. As a chronic multi-tasker and big-dreamer I fall into this trap every single year. To ease some of that overwhelm, I like to break my yearly goals down into steps that I can complete each month, and one of my big goals is to create my yearly illustrated calendar. Having made a calendar featuring my illustrations for a few years now, I thought I would write out some of the things I’ve learned, and some tips and tricks for how to set yourself up for success when creating your own illustrated calendar.
The Ingredients of an Illustrated Calendar
Let’s break down the steps of putting a calendar together. I like to work backwards from when I want the calendar ready. What format I’m working in, what my printing options are, and if I’m going to sell it in my shop or just make for fun, are all good things to consider ahead of time. Here are our ingredients:
Artwork
Design and layout
Printing
Selling and shipping (optional! You could just create a calendar for yourself or as gifts!)
Below, I dive into each of these steps in more depth.
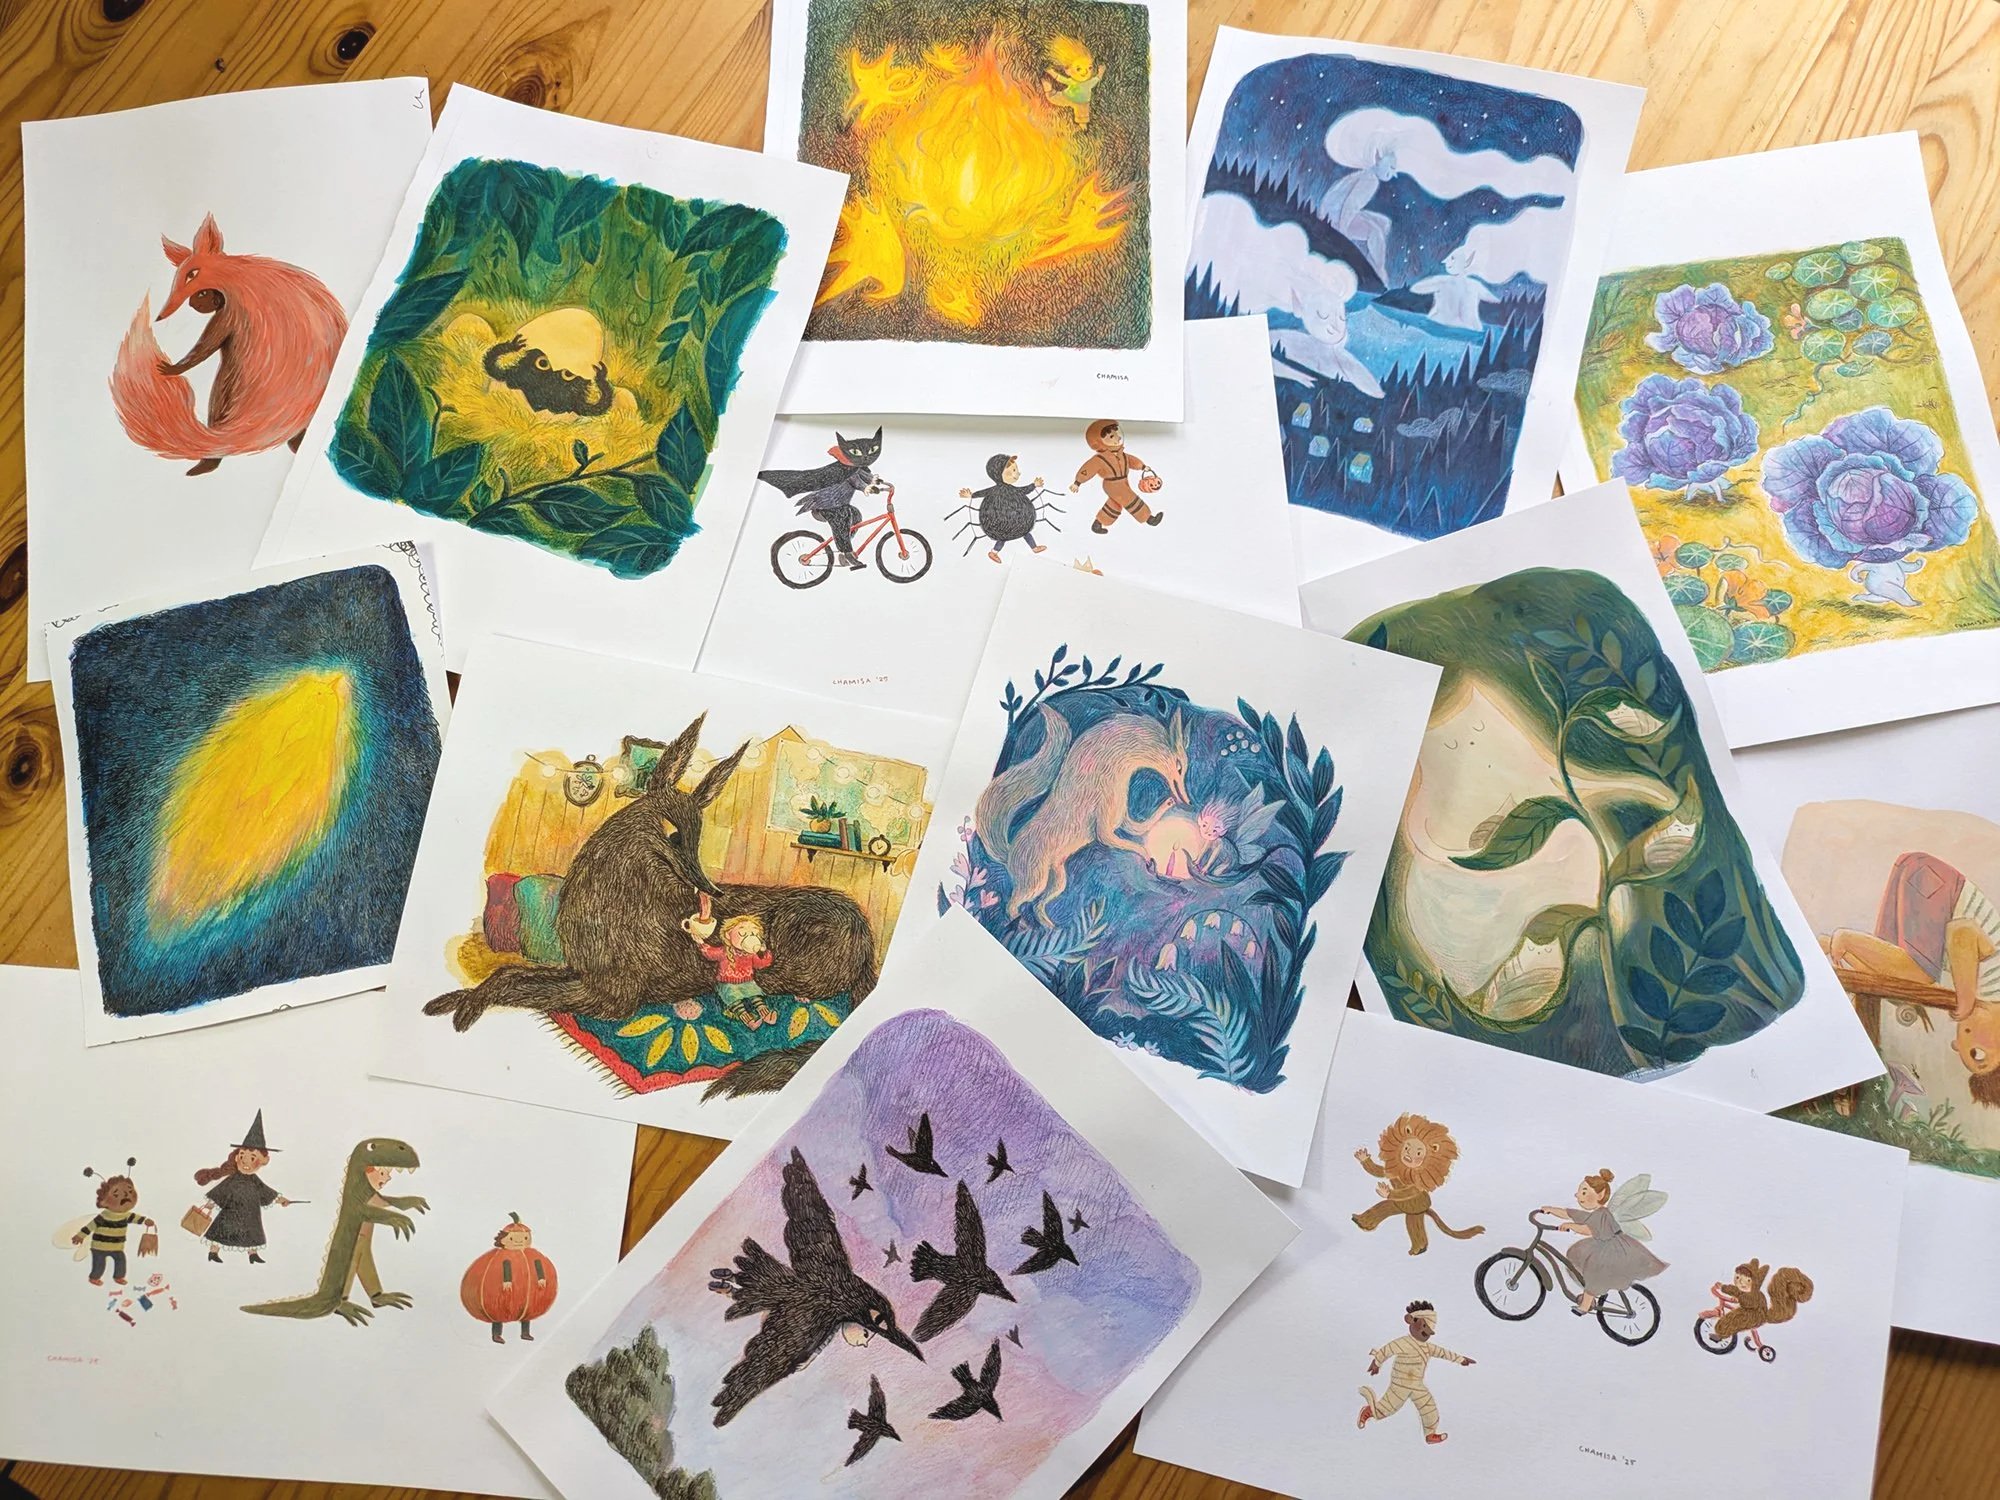
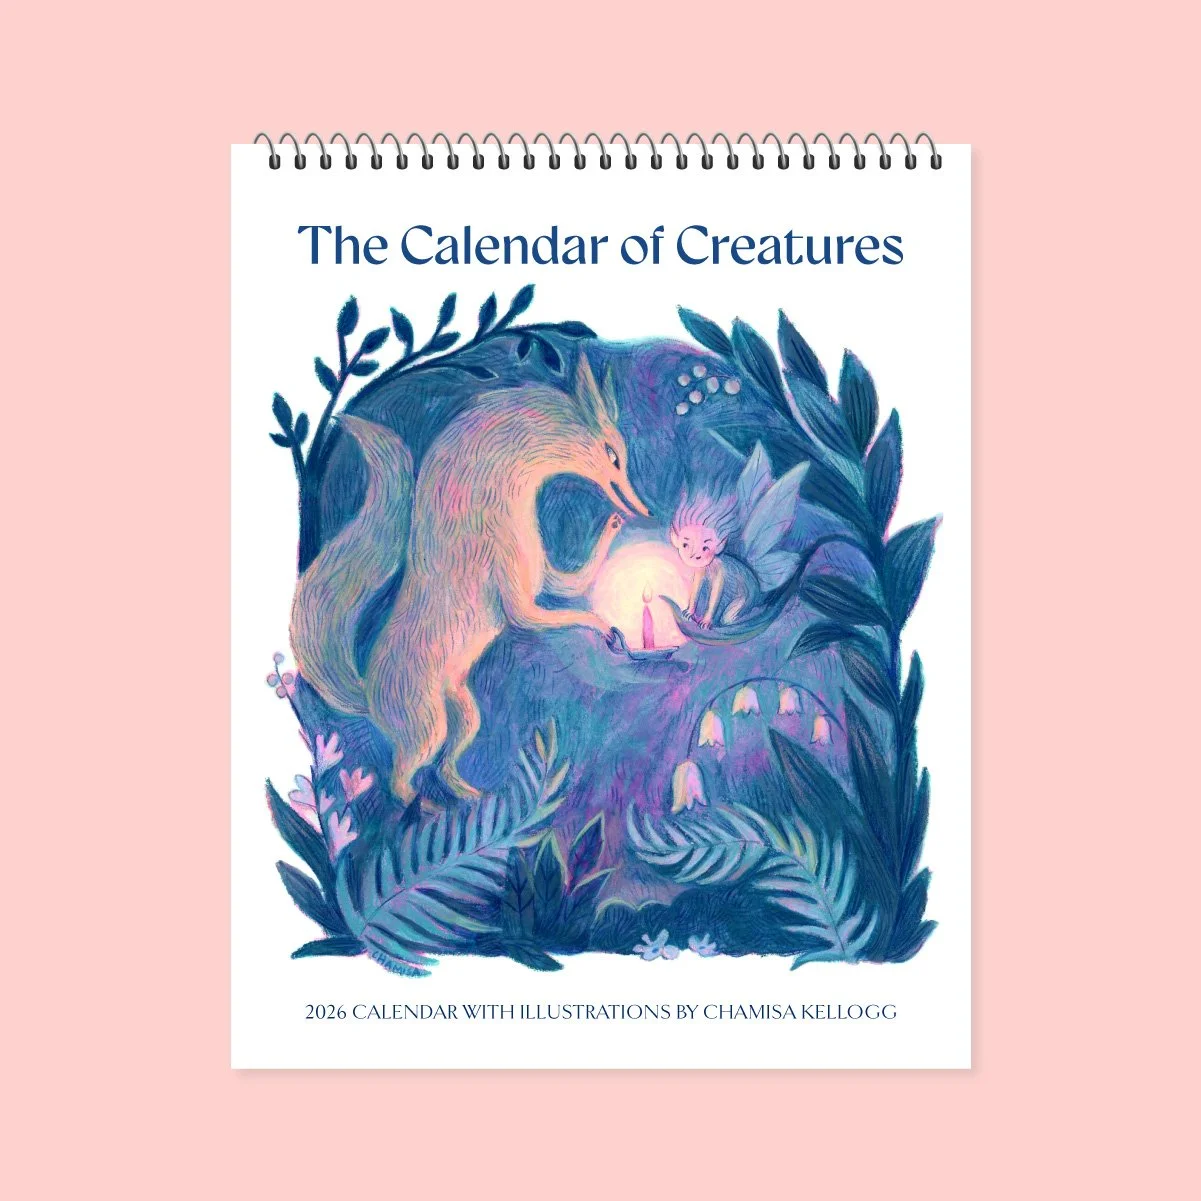
Artwork made for my 2026 calendar
Creating Artwork for your Calendar
TIME MANAGEMENT
Making the artwork for your calendar will definitely be the most time-intensive, so give yourself lots of leeway! You’ll need 12 pieces of artwork, so you could set a schedule of making one piece a month and finish in December. Or, if you’re like me and plan to sell the calendar in your online shop, wholesale, or at craft fairs, maybe you need to shorten the production schedule a bit. This year, I plan to make two pieces a month, so that I have my art ready by the end of June. This will give me time to design the file, order my printed calendars, promote the project, and sell and ship in time for the holidays. Full disclosure, this also builds in buffer time for my inevitable procrastination and creative slumps (let’s be real).
FORMAT
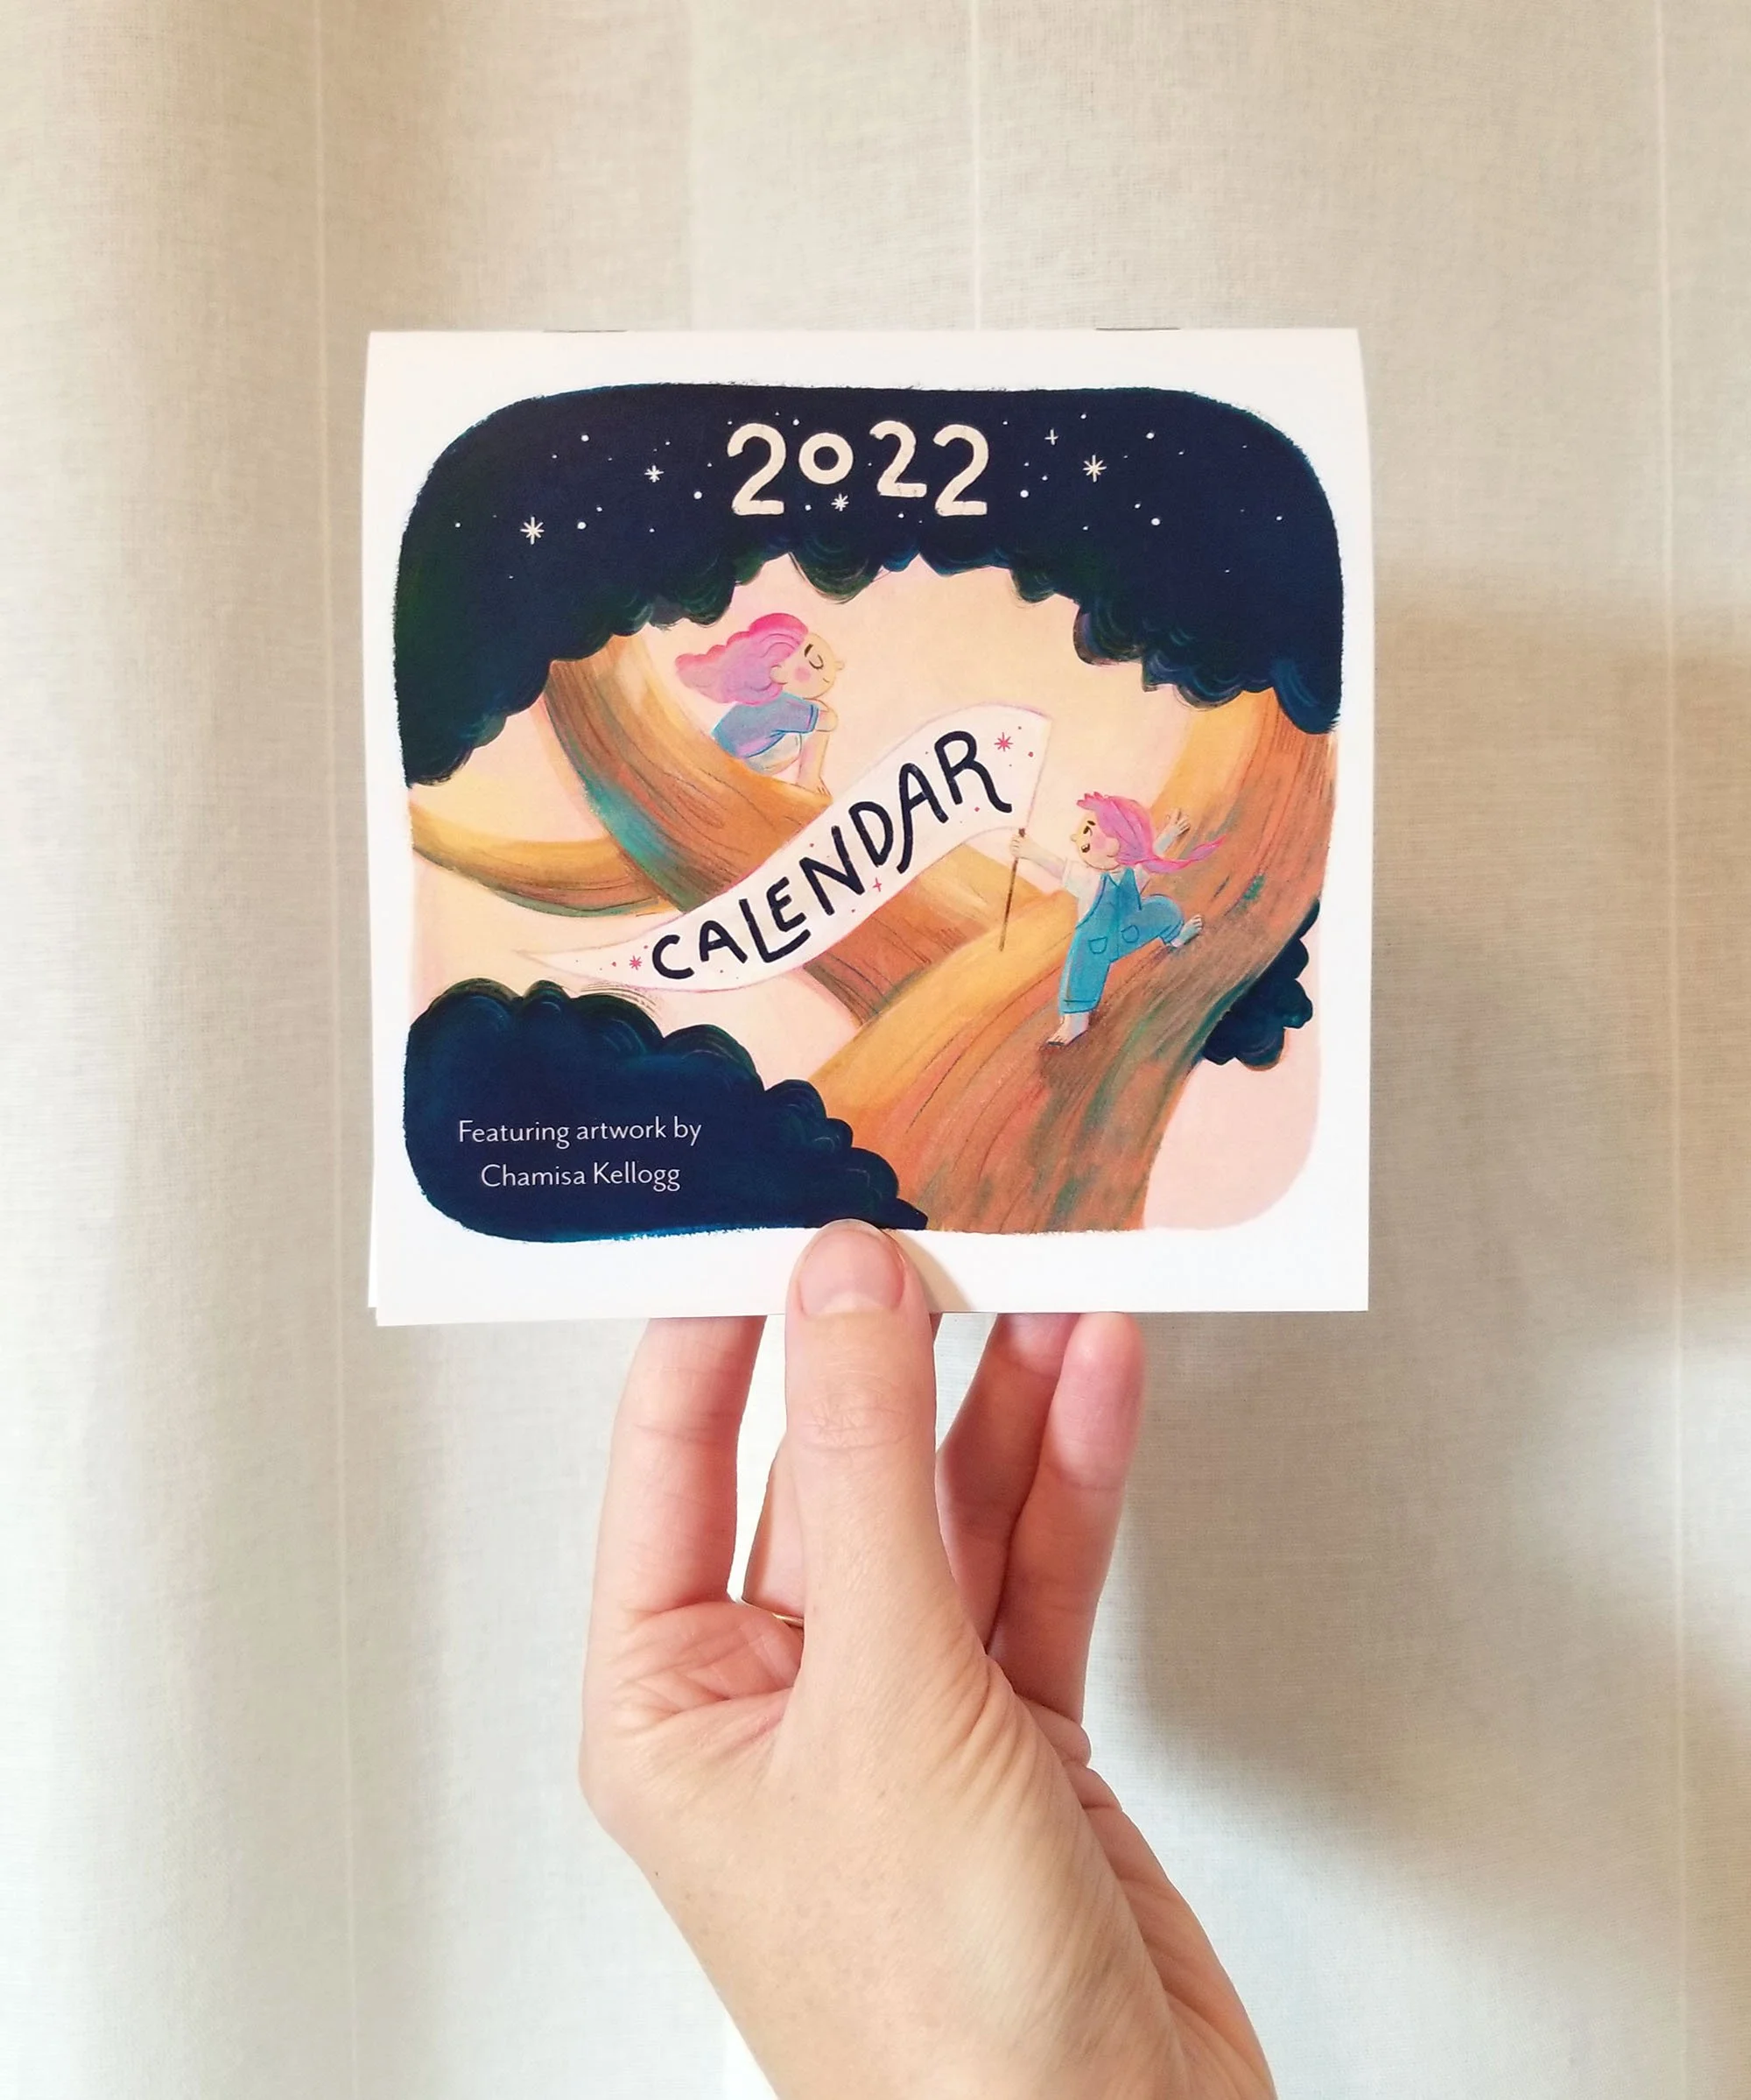
How do you envision your calendar on the wall? Is it a tall skinny design, a perfect square, a wide rectangle? Decide on the format for your artwork before you begin making your pieces so they will fit comfortably into your design file.
CHOOSING A THEME
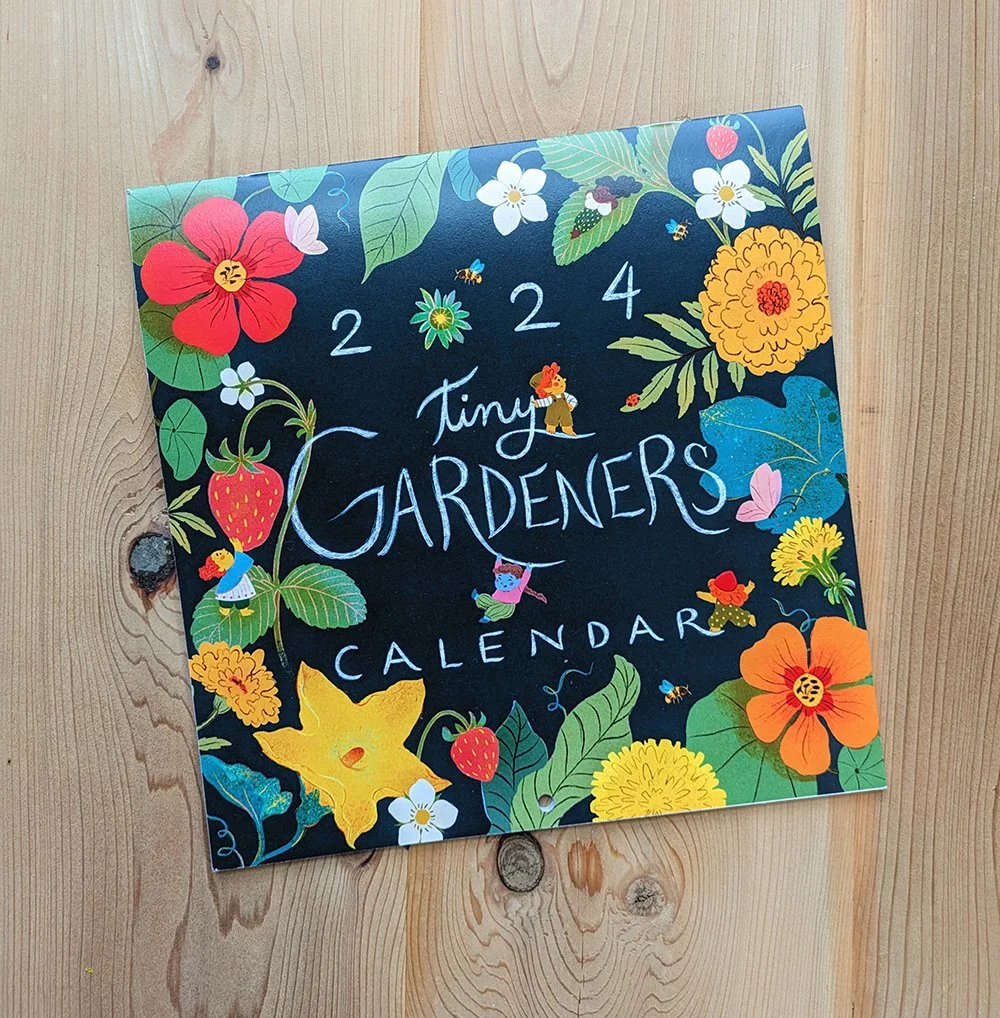
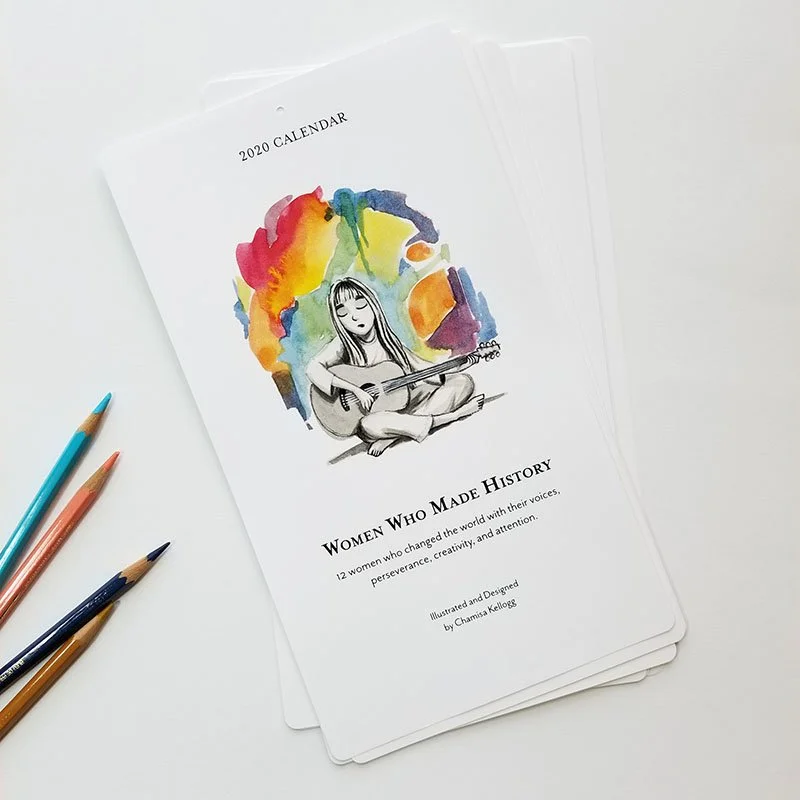
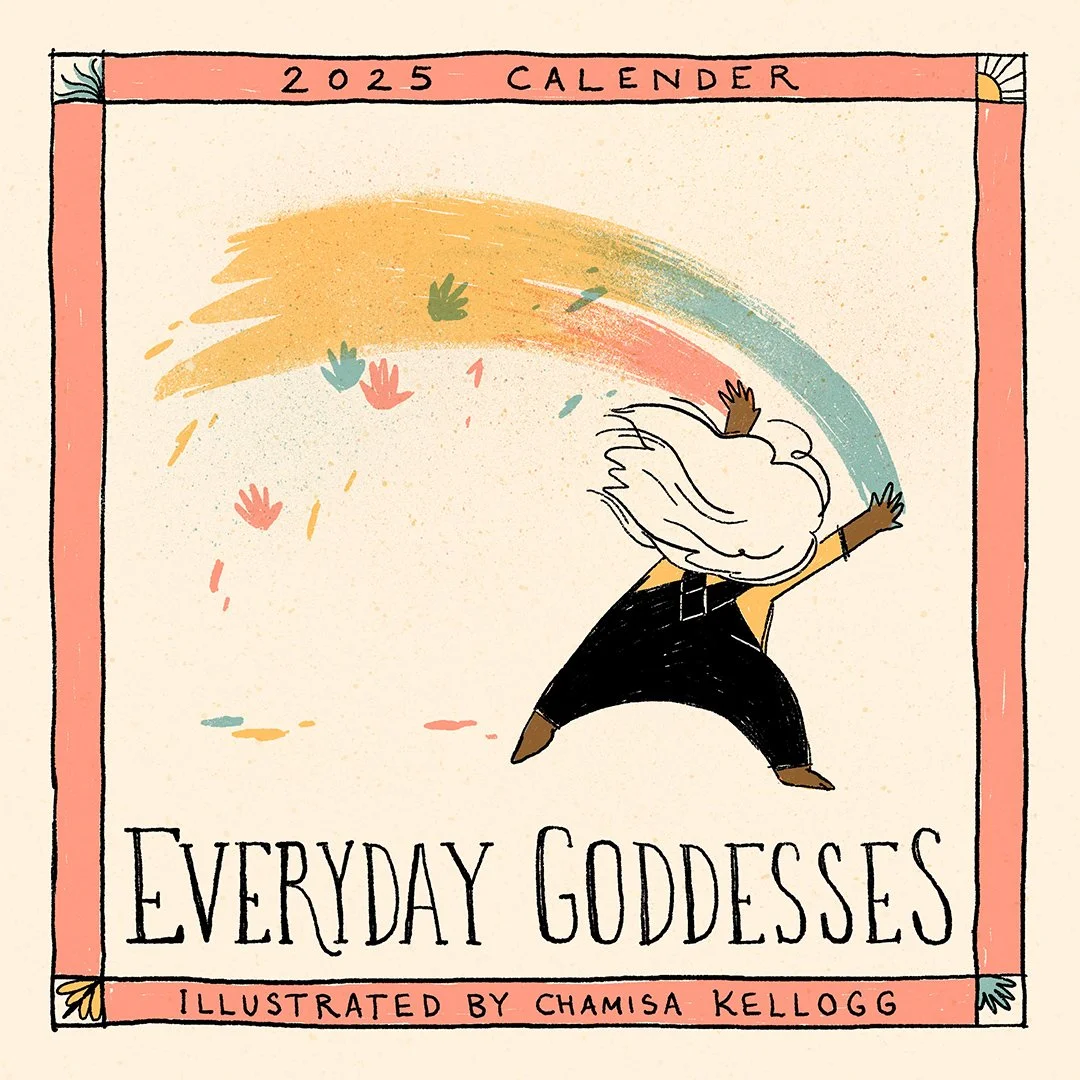
I find it really helpful to choose a theme that ties all my pieces together. Not only does this provide fodder for ideas, but it makes the calendar stand out, and helps me promote it. On a more personal creative level, having a theme let’s you dive into something that’s particularly interesting to you, which is a great way to make work that feels uniquely yours. Your theme can be very loose or really niche and specific! In the past, I’ve done themes like “creatures” where I explored my interest in mythology and folklore, “tiny gardeners” which featured gnomes tending to different garden plants, and “everyday goddesses” an exploration of archetypes and identity.
By the end, you’ll have twelve lovely new pieces of work! Bonus, they don’t just have to just live in the calendar: some of them will be worthy of your portfolio, some can be applied to other products like greeting cards or prints, and some pieces you might not love, but could be the seed of an idea that you can explore further in the future.

Design + Layout
Consider how you want people to use your calendar. Is there lots of space to write appointments and reminders? Or is it simply a beautiful object to hang on the wall that also conveniently tells you what day it is? There are so many wonderfully creative ways to design a calendar, but you can never go wrong with a simple design.
I like to lay my calendar out in Adobe illustrator, and drop in my illustrations as I finish them. There are lots of online calendar templates that might be a helpful starting place, as well as online printing services that provide a template you can simply drop your art into (more on printing below). When making design choices, think about how the fonts and layout are supporting the illustrations. You want the artwork to shine and not be overshadowed!
Printing
GO LOCAL
I like to use a printer where I can proof color and makes adjustments before ordering my calendars. I also love to support local businesses, so working with a local printer covers both of these requirements for me (shout out to Paperjam Press in Portland!). A local printer may also provide specialty services like gold leaf or a particular kind of binding.
ONLINE PRINTING
There are a ton of great options for printing calendars online. Knowing how much you want to customize your calendar design will help you choose an online printer (some don’t allow for much customization). You can opt for ordering in bulk, or go the print-on-demand route (where calendars will be printed as they are ordered).
COST
If you plan on selling your calendar, you’ll want to make sure you can sell them for a profit, so factoring in the cost of printing (your largest expense) is important. Get quotes from a few places before making your decision on who your printing with.
Selling + Shipping
My calendar sales are a significant part of my shop income each year, and since most people are buying them as winter holiday gifts, it’s important that I get them listed on my shop by October or so. This year I may even try for September! This gives me plenty of time for promotion throughout the fall as people are beginning to think about their gift lists (and wishlists!).
PREORDERS
Unless you’ve opted for print-on-demand, you’ll most likely get a better discount the more calendars you order at a time. Selling your calendar as a preorder item is super helpful when it comes to estimating how many you want to print. I usually do a couple months of preorders, and then order a little extra for anyone who missed the preorder window.
DIGITAL DOWNLOADS
In addition to the printed calendar, this year I plan to also offer my calendar as a digital download for a lower price-point. This will require a little more design time to format it for screens. I have no idea if this will be popular or make me any money! I’ll let you know in December :)
PACKING + SHIPPING
Save yourself a lot of time, and have a repeatable system for how you pack and ship your calendars. You’ll want rigid envelopes, protective sleeves (there’s lots of biodegradable and recyclable options out there), and it’s always nice to include a little thank you note in each package. If you’re expecting a lot of orders, I highly recommend a way to easily buy and print shipping labels at home (most online shop platforms will let you set this up). If you print shipping at home, you’ll need a postal scale. Lastly, having a nice large desk or table where you can lay out and pack orders is a huge help, too! Remember to factor the cost of your envelopes and sleeves into the sale price of your calendar.
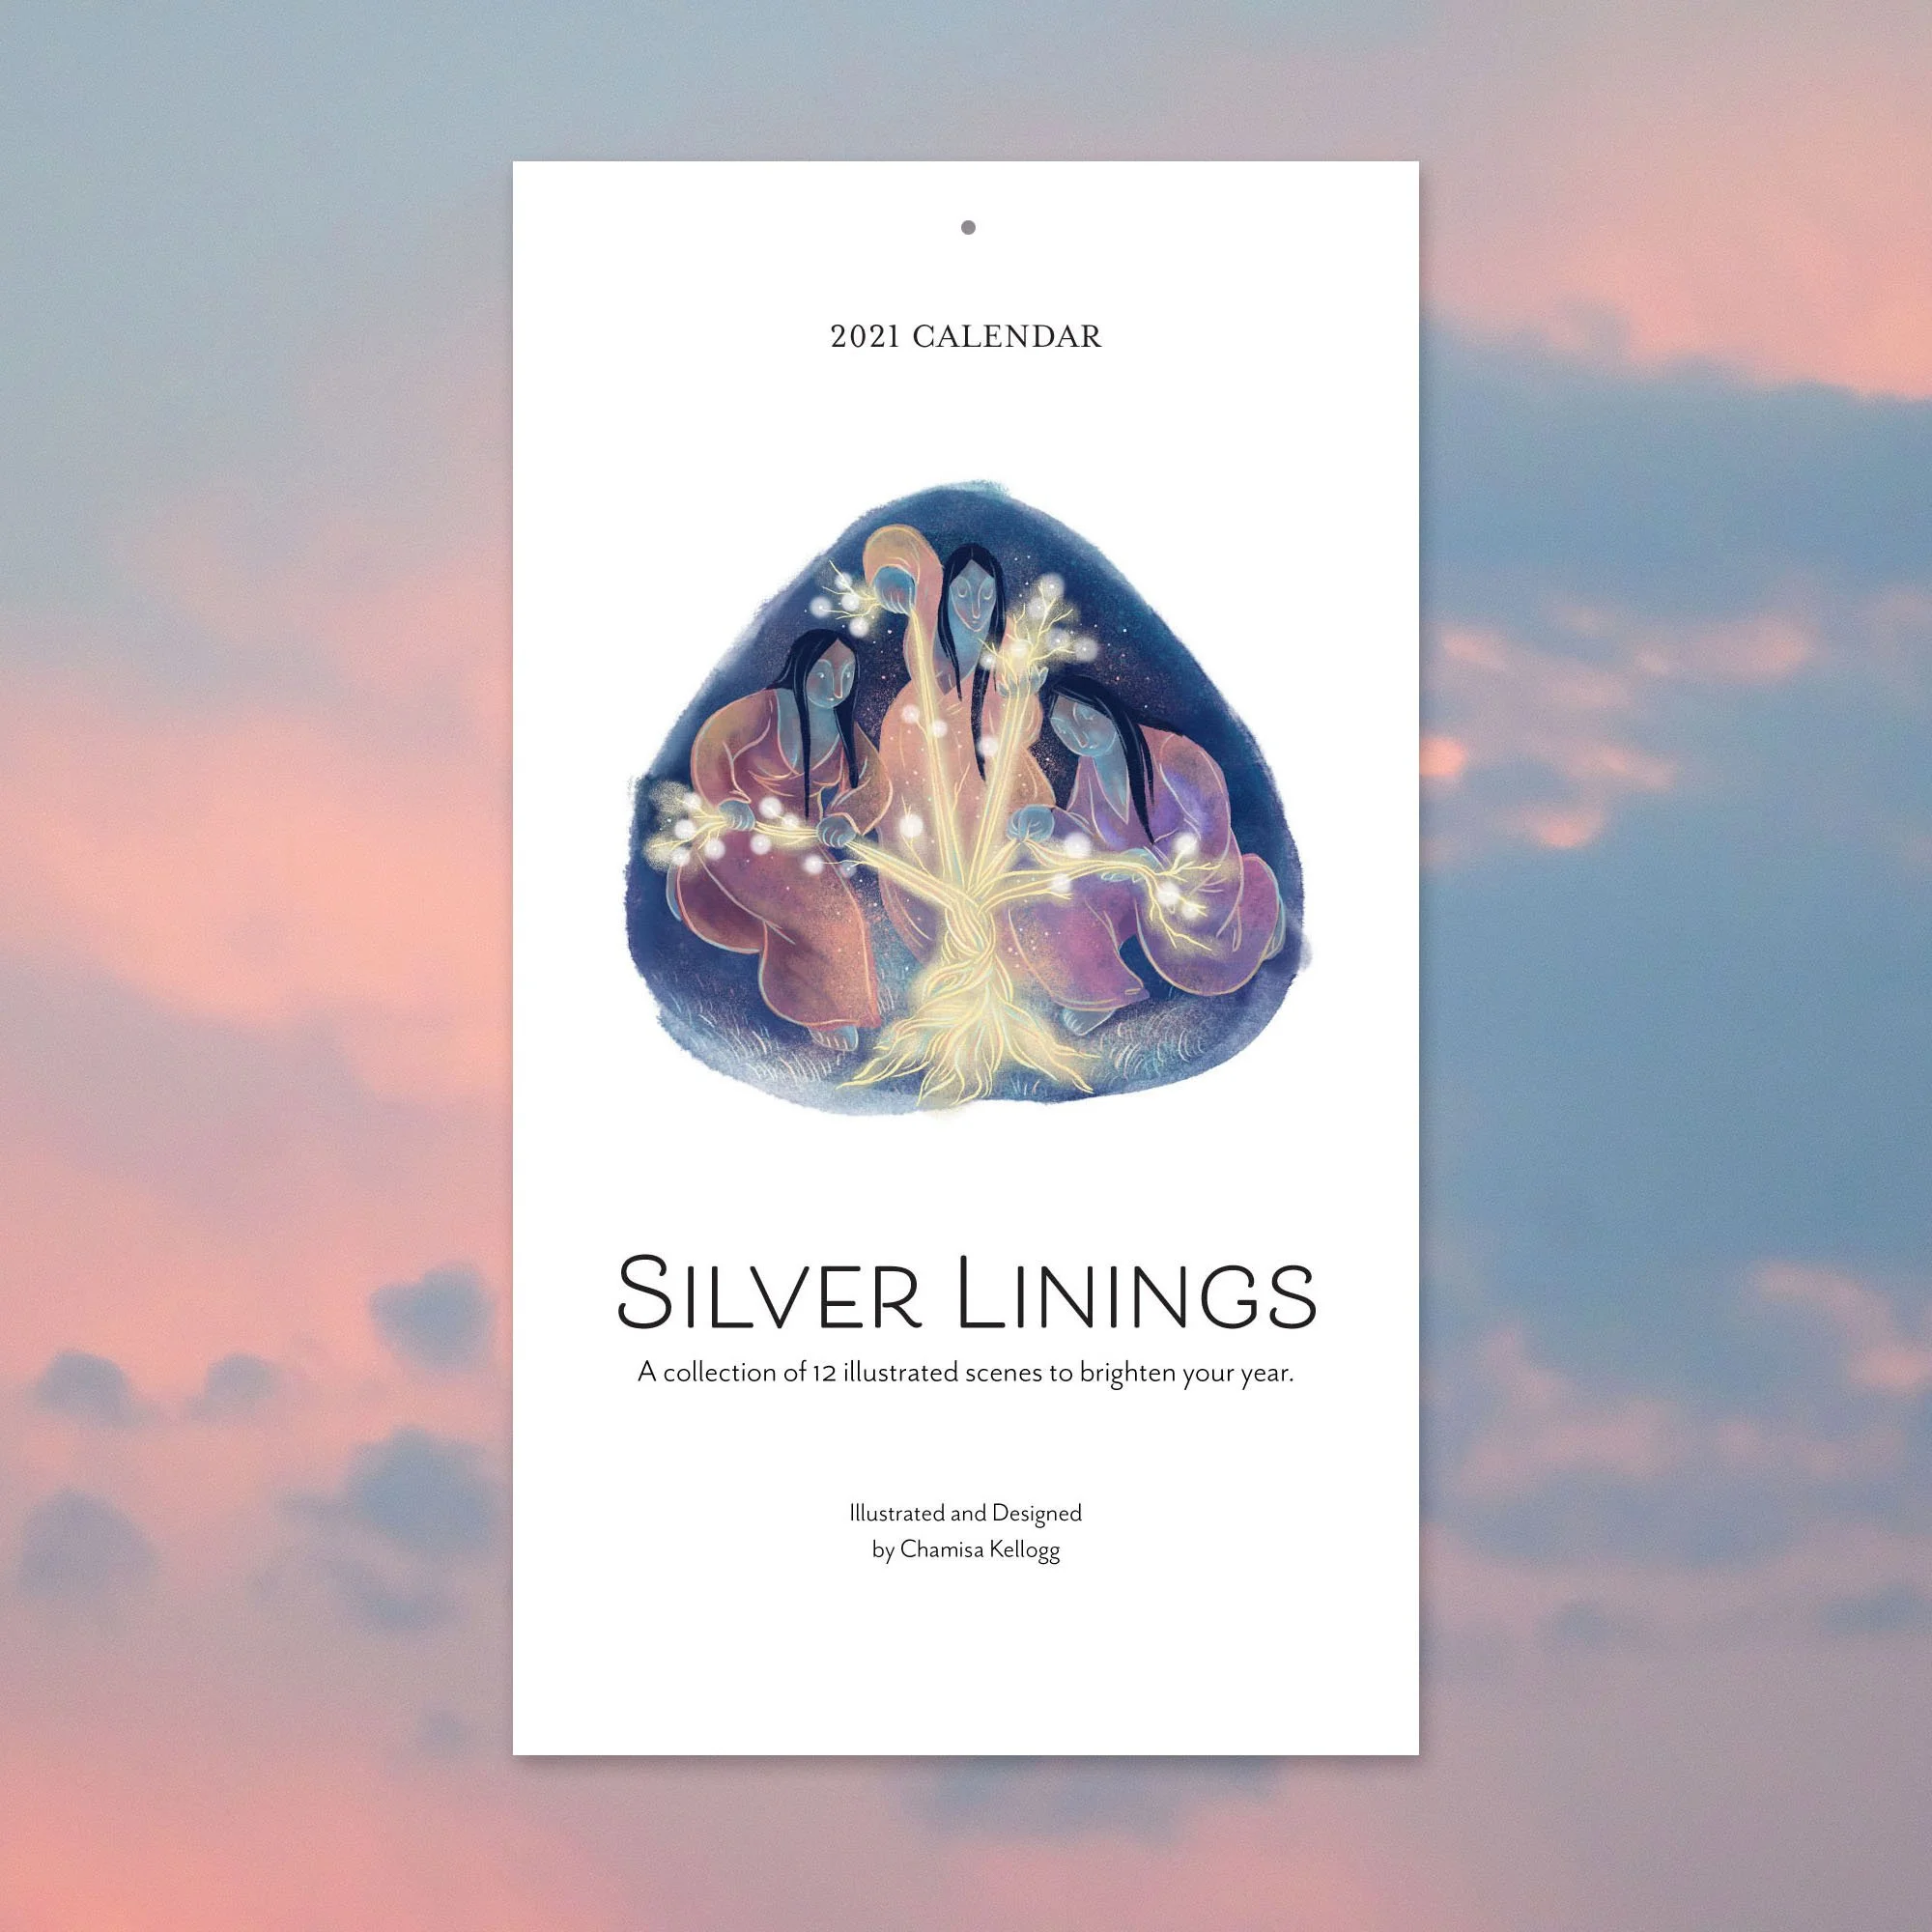
My calendar for 2024
Final Thoughts
Fast forward 12 months: it’s the end of the year, congratulations, you did it! You’ve sold all your calendars, or maybe you have a few left over that people can still buy in January and February :)
Take some time to reflect on the process of putting your calendar together. Were the costs worth it? Did you make work that you loved? Did you have fun? How would you do it differently next time? Make some notes for your future self, who has blissfully forgotten about all the hiccups you ran into.
I hope this little writeup is helpful to any illustrators out there interested in making their own calendars! Please let me know in the comments, and happy illustrating!